Knowledge Base & Support
TOPICS
Getting Started with Vercator API
The Vercator cloud processing services can be run completely headless by using the API. This allows users to build the Vercator processing engine into their own tools and services.
The Vercator Cloud API allows you to programmatically access and run the Vercator Cloud service without using the web portal. The easiest way to get started with the API is to visit its Swagger page which provides combined documentation as well as an API sandbox to do simple testing within the browser.
Overview
- You need a valid API Key to send requests to the API endpoints. You can get your key from the admin panel from the Vercator Cloud web portal.
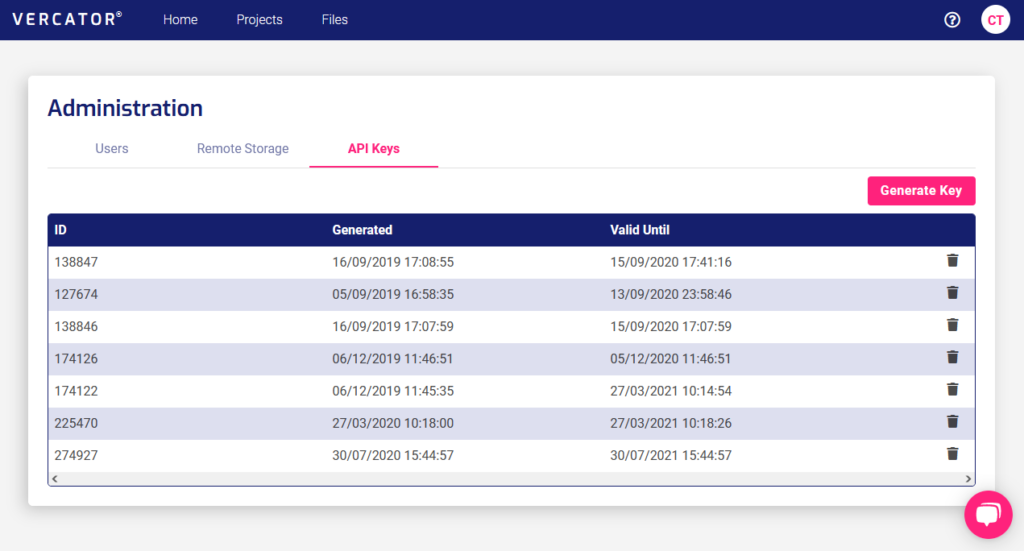
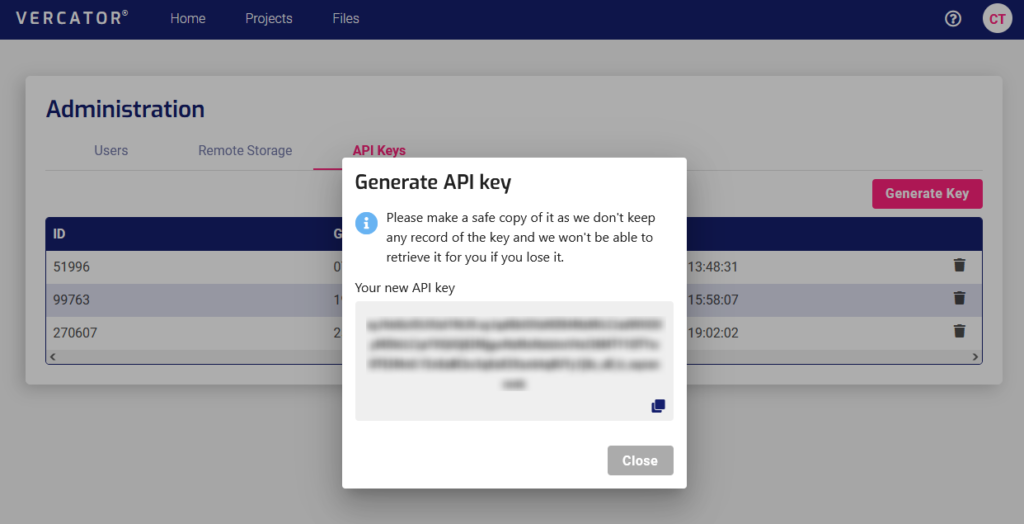
- Generate key will create a new access key valid for 1 year. Please keep this key in a safe place as it provides access to your account and therefore charging to it. For security we keep no record of it, so it cannot be recovered if it is lost.

- With the API key you can now browse to the API documentation here
- The Swagger page provides both a sandbox for testing the API in the browser with example json as well as documentation of the endpoints. Alternatively, you can visit the raw json text API documentation page (https://vercator.cloud/api/v0/public/doc) to import the details into other API tools, such as Postman.
Endpoints
There are currently two groups of endpoints which are available to run processing jobs. Those for aligning scans with our registration process and those for scan format conversion. Currently all API endpoints are prefixed with https://vercator.cloud/
Scan Registration
- POST /api/v0/projects
Create a project – enables the programmatic creation and running of a registration project using data from public or signed url’s. - GET /api/v0/projects/{id}
Get a project – provides the status of a project; whether it is running, completed etc. - GET /api/v0/export/{exportJobId}/scan/{scanId}
Generates a public link to an exported scan – creates a unique link, valid for 1 hour, to the exported registered scan requested.
Example registration usage:
Generate a project with the ‘Create a project’ endpoint, poll ‘Get a project’ every 60 seconds to find out when the jobs (pre-process, coarse, fine, export) are complete. After the export has been completed urls for each scan can be created to access the final registered datasets.
Scan Format Conversion
- POST /api/v0/scan-conversion
Convert a scan – allows the creation of a scan conversion job programmatically. - GET /api/v0/scan-conversion/{batchId}
Inspect conversion status – Polls the job to get its status such as whether it is running or failed. - DELETE /api/v0/scan-conversion/{batchId}
Delete a conversion job and data – deletes all the data associated with the job kept in your Vercator storage. - GET /api/v0/scan-conversion/{batchId}/links
Retrieve url to converted scan – Generates an access url to the converted scan to allow download that is valid for 1 hour.
Example conversion usage:
Create a scan conversion job with ‘Convert a scan’ endpoint, every 30 seconds poll ‘inspect conversion status’ with the batch id returned from the ‘Convert a Scan’ endpoint to get status. On Completed status use ‘Retrieve url to converted scan’ endpoint to download the converted data. On successful download, delete the project from Vercator’s storage with the DELETE endpoint.
Swagger UI Page
You can use the Swagger page to do simple tests with the API endpoints. Firstly, press Authorise and input ‘Bearer [your API key]’ e.g. Bearer MTV9.aibNJRVEz. This will turn all the locks to locked status.
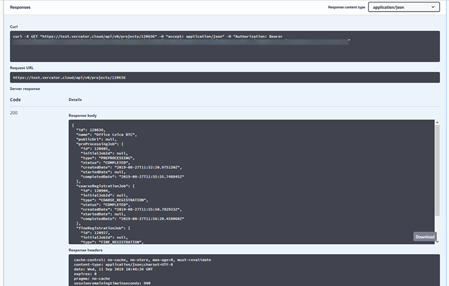
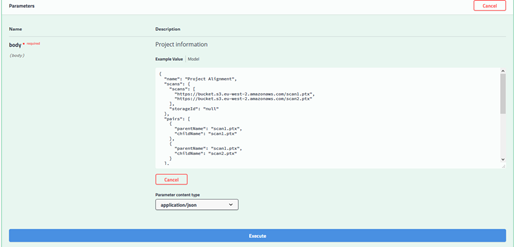
Then an endpoint can be selected and you can click Try it Out:

This will open an example of the data to be sent, such as json parameters or a project id field:
This can be edited and then run by pressing Execute. After which the response is displayed with status code.