Knowledge Base & Support
TOPICS
Getting Started with Vercator Registration
This article describes the quickest way to get started with the Vercator registration service. Currently the best experience is provided with Google Chrome or Mozilla Firefox browsers and we recommend using either of these.

Although default settings are given at the Settings stage parameter tweaks or manual registration may be required to obtain the desired result.
The following guide uses the example data that is added to each new Vercator account.
Step-by-step guide
- Home Page
- Create project
- Add scan data to project
- Create scan network
- Set registration settings and start processing
- Verify Coarse Registration (Optional)
- Verify Fine Registration
- Export final registered data
The process in detail
Step 1: Home page
When you first log in to the Vercator cloud the default view is the Home page. This page shows your token balance, as well as quick links to starting different Vercator services.
Free Trial
If you haven’t done so, remember to verify your account from our activation email to get your 50 free trial tokens (you may need to check your spam filter for the email).
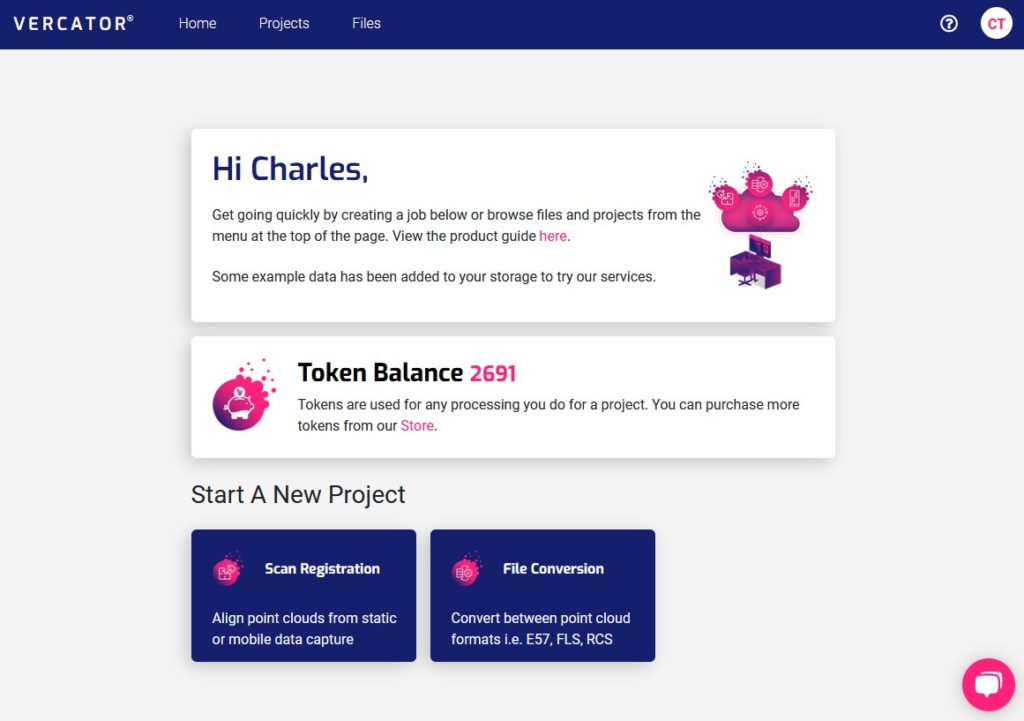
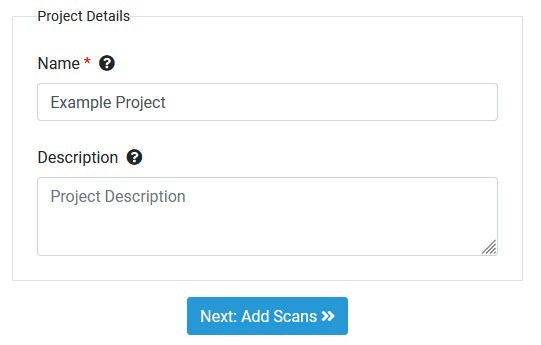
Step 2: Create Project
From the quick links at the bottom of the home page select Scan Registration. You will then be prompted to name the project and give an optional description.
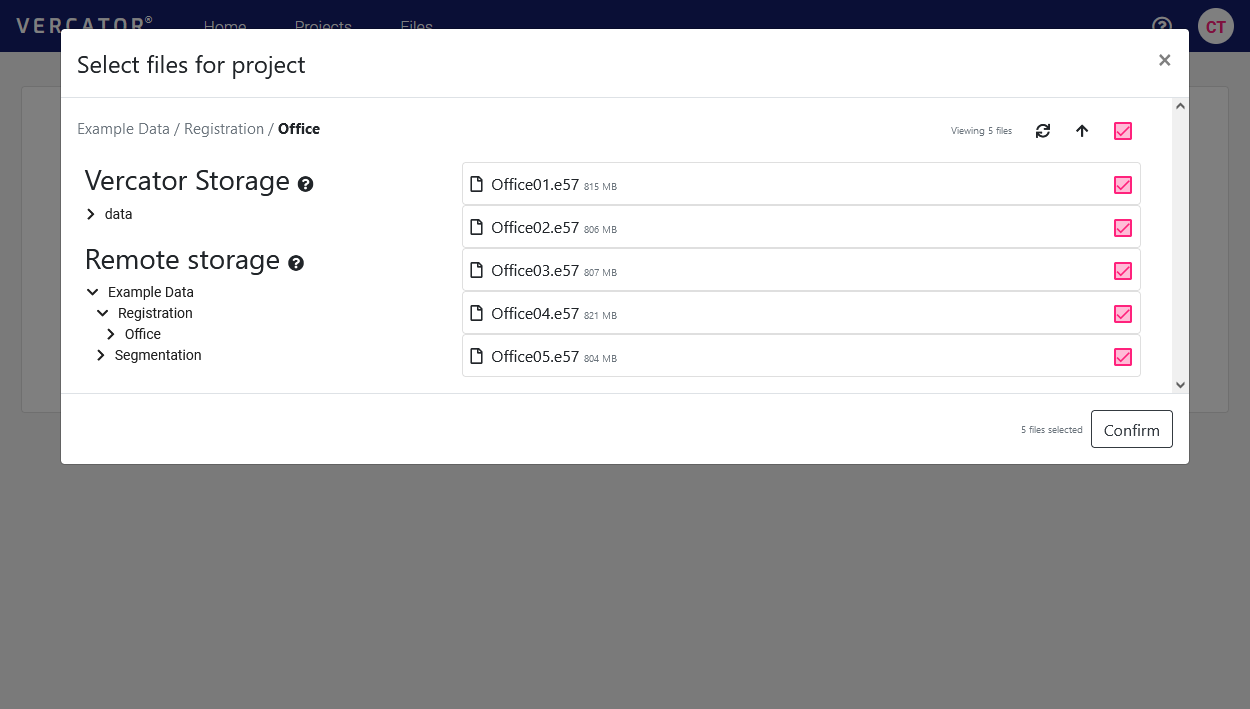
Step 3: Add Scans
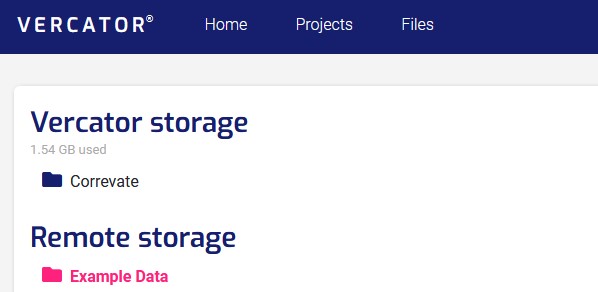
Pressing Select scans opens the file picker in the same style as the Files page. This will allow you to choose data from either Vercator or remote storage to add to the project. Data can also be uploaded from here if required in the same way as on the Files page.
This view shows external remote storage you have connected such as Dropbox, Amazon S3 or Microsoft Azure storage. You can find out how to connect this here. You can also see the private Vercator storage that comes with your account.
Data
Vercator services currently require 1 scan per file.
The example data is attached as external remote storage and I pick it as below:
Step 4: Create Scan Network
Place the scans in a connected network based on overlap. Scans that have the most overlap with each other should be paired together. Pairing can be done either by linking automatically or placing in the scene.
The example data should be paired one after the other as below, either manually or with Auto-Link from the Link Scans dropdown:
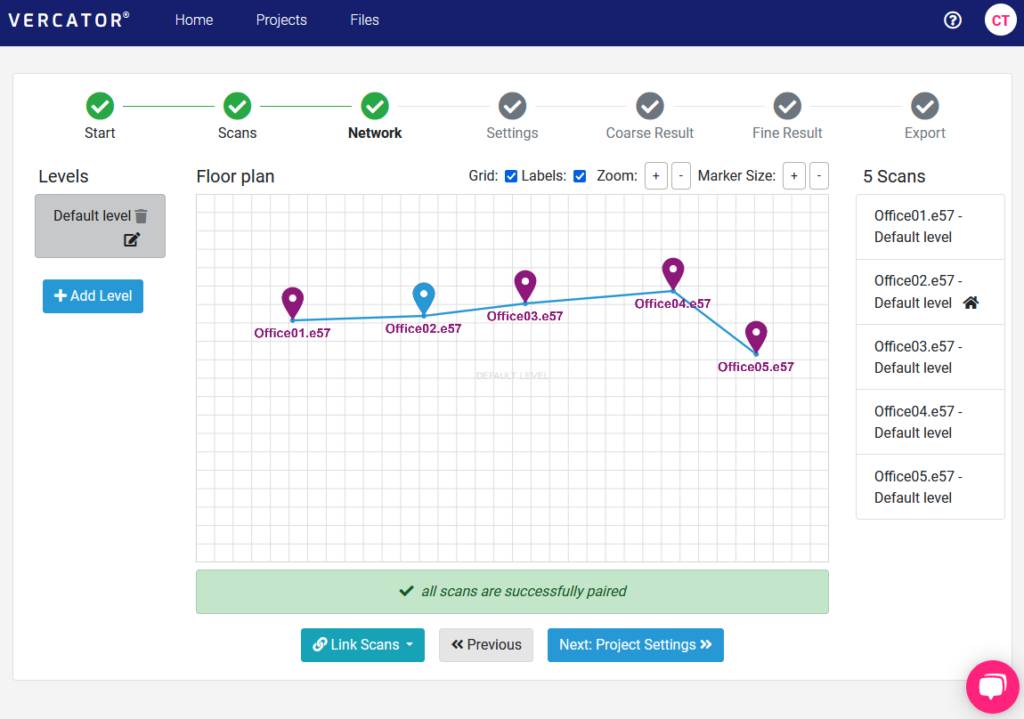
To place scans manually in the scene: double-click in the main central area
To connect them: right-click and drag between markers.
A fuller description is provided here.
Scan Pairs
– All scans must form a single network. No disconnected scans allowed. Loops are allowed.
Step 5: Registration Settings
Enter the required settings for the registration job. Default values are placed by selecting one of the three defaults but they will likely need changes to suit your data. The defaults assume metres but all values will be in the units of the scan data provided. The example data can be run with the default settings.
A full description of each of the parameters can be found here.
When you press Start processing this is the charging point at which tokens are deducted. A message will be displayed confirming this as below:
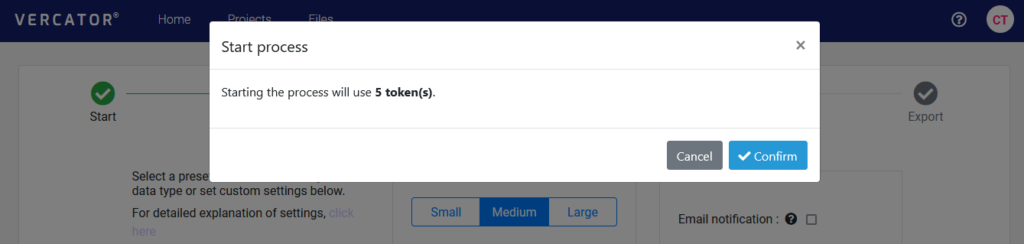
If the job needs to be re-run, you will not be re-charged tokens for scans that are already in the project – only additional ones and you will be alerted to any extra costs.
Step 6: Verify Coarse Registration
If you have not skipped this stage then you can use the 3D view to analyse the interim result. This does not have to be perfect but close enough (within a few centimetres at most) for the fine registration to complete successfully. If there are errors then either the parameters can be changed and the job re-run or some manual registration can take place to fix them. Some pairwise statistics for overlap and visibility are listed with the scans as a guide.

Step 7: Verify Fine Registration
This is a visualisation of the final registered data. Also there is a statistical overview and the full statistical report can be downloaded as a csv.
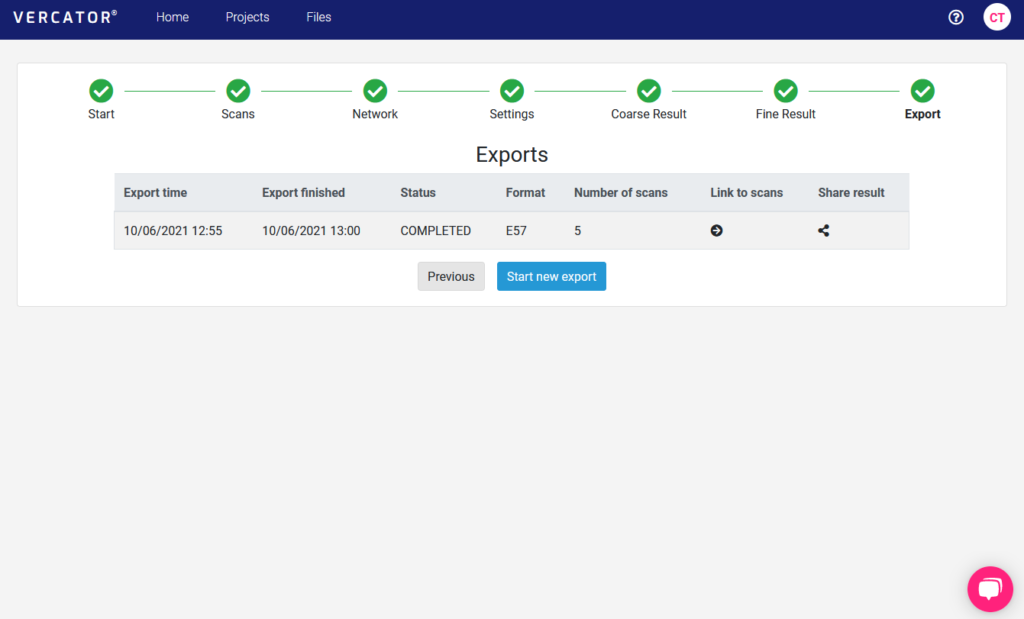
Step 8: Export Data
The final stage allows you to export the registered data back to your Vercator storage in different formats including e57 and rcs.
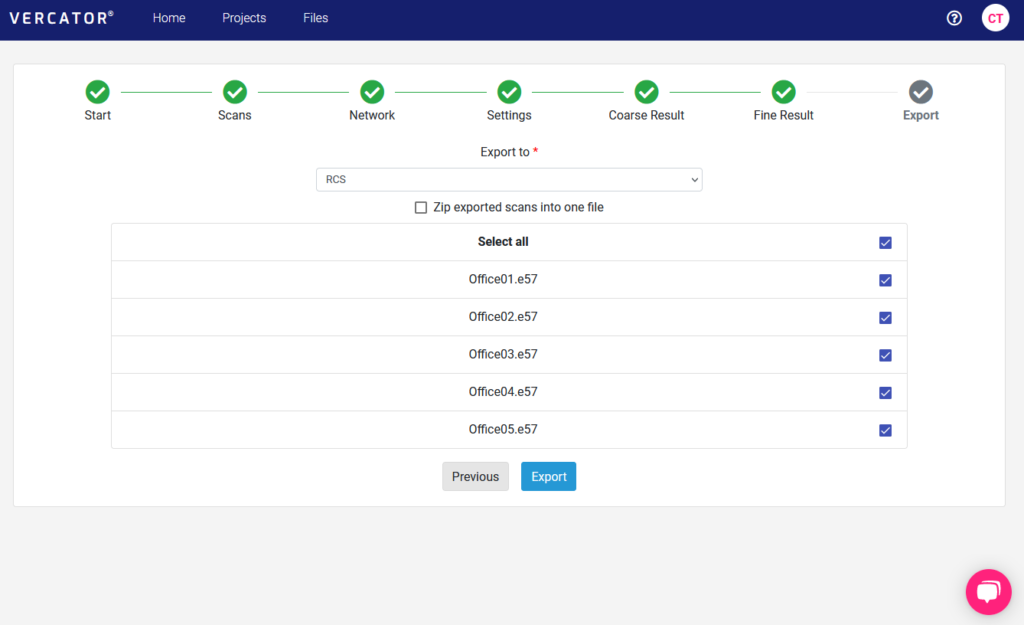
Once exported the scans are placed in a folder named after the job ID with a link from the project created as below. The result can also be shared by clicking the share icon. This will allow you to email links to the data (valid for 7 days) to others for download.