

Knowledge Base & Support
TOPICS
Vercator Cloud Interface
This article gives an overview of the Vercator Cloud Interface.
Home
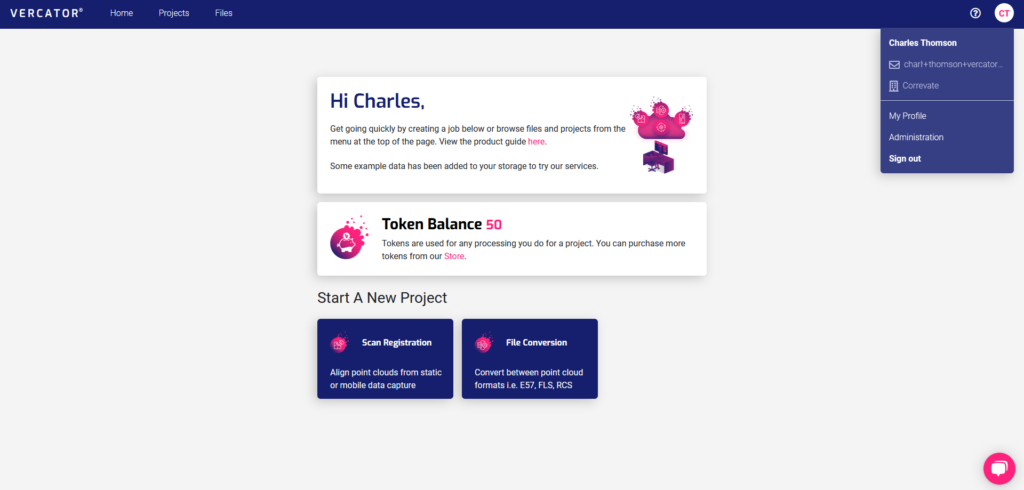
When you first log in to Vercator Cloud the default view is the home page
The home page provides quick links to start projects as well as token information. Along the top menu are the links to access existing projects and file storage. In the top right is the user’s initials, which opens the profile menu to allow a user to change their details. The Admin item for API keys, attaching storage and adding users will be available for administrators and is shown in the user details drop down also.
Files
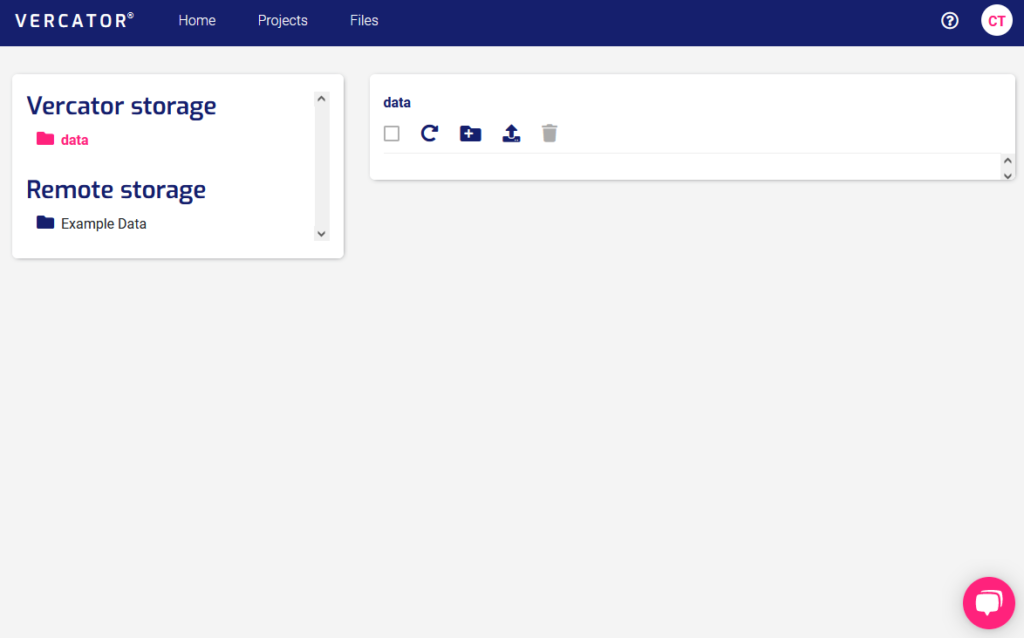
The files page provides a file explorer showing the private Vercator storage that comes with your account. You can also view external remote storage you have connected such as Dropbox, Amazon S3 or Microsoft Azure storage. Remote storage can be added in the Admin area.
Scan files can be uploaded from your computer by choosing upload in the current folder, where you can also create folders for organisation.
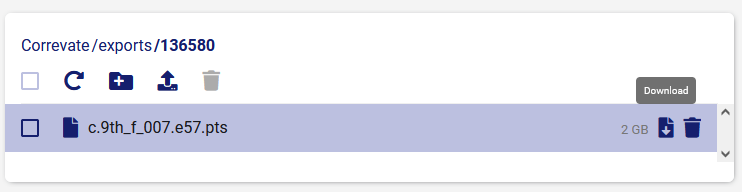
Scans can be downloaded back to your computer by selecting the download button on the right of each file on hover, as below.
Projects (Registration or Conversion)
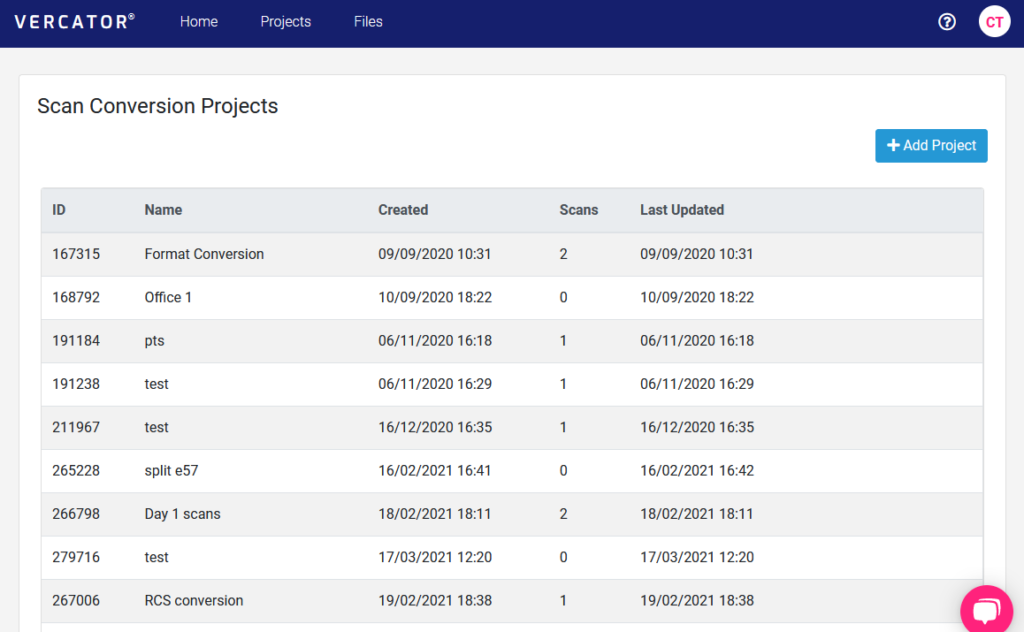
Both Registration and Format Conversion pages are formatted in a similar way. They show you the registration or conversion projects created and gives the ability to create new ones with the Add Project button. All projects are private to each user but can be viewed by administrators. The Format Conversion Projects page is shown below as an example.
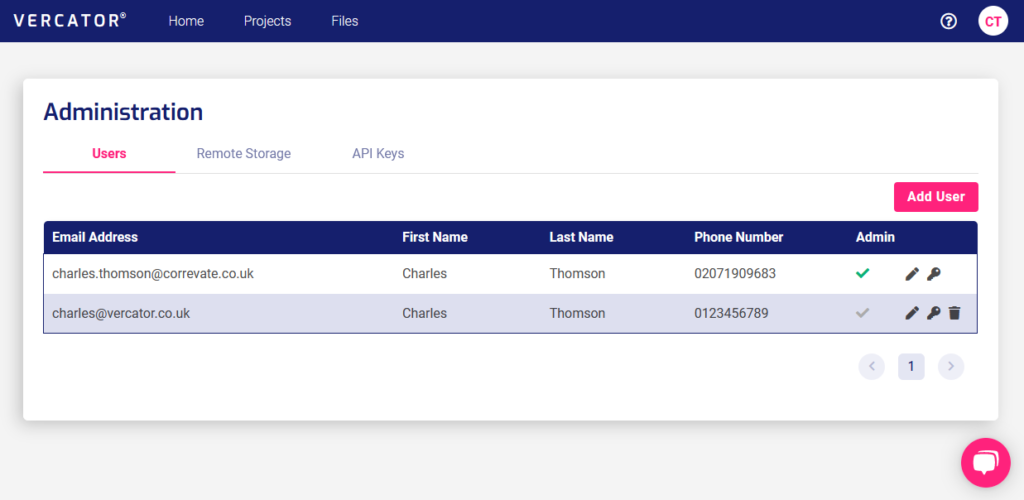
Admin
The Admin panel shows the user information for the company and status. This allows administrators to manage users and add remote cloud storage from Dropbox, Amazon and Microsoft for all users to access. The admin can also generate API keys here for the account. It can be accessed from the user menu in the top right of the screen and selecting ‘Administration’.
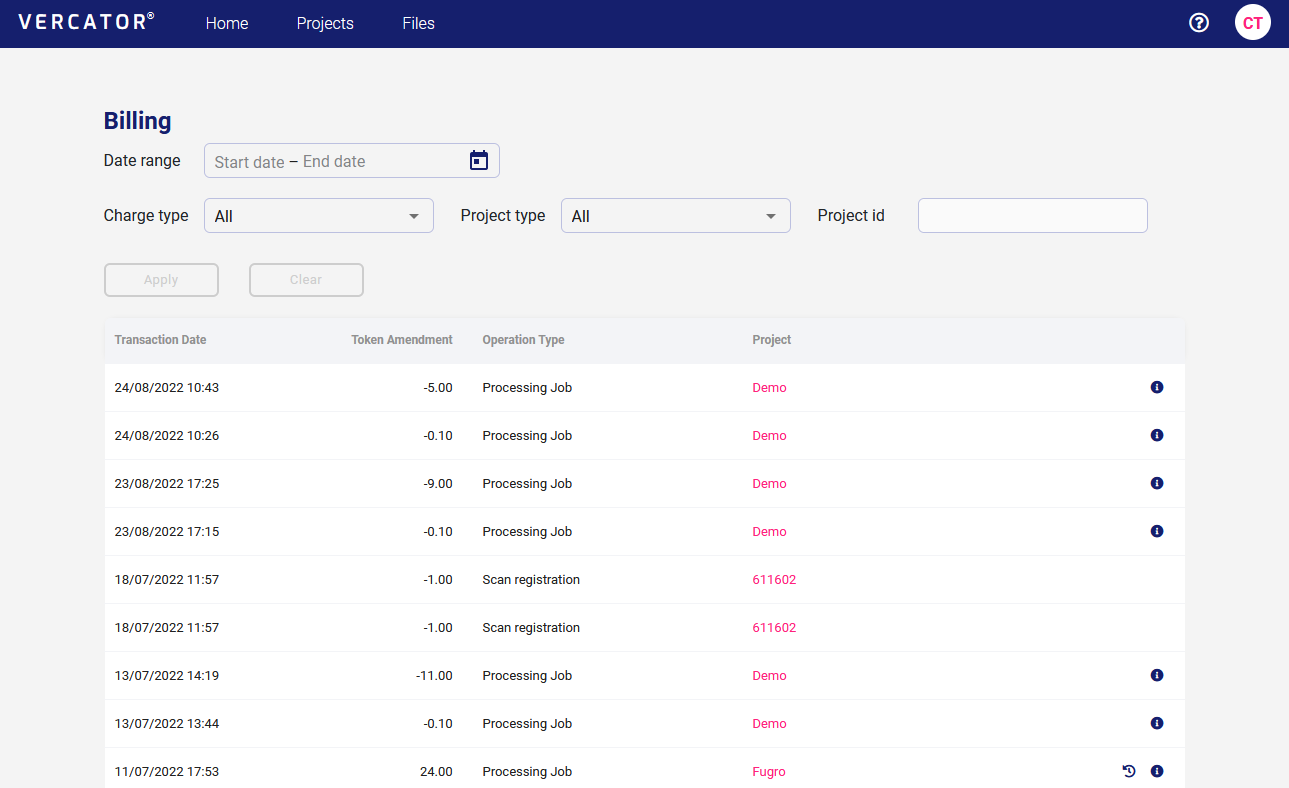
Billing
Billing shows an admin user where tokens have been spent.
It can be accessed from the user menu in the top right of the screen and selecting ‘Billing’. Tokens are used to pay for Vercator services please see pricing for more information.
User Details
By selecting the user icon in the top bar the panel shows the details for that user. A user can update their information, such as email and password by selecting My Profile.
